Flashback Data LLC
5508 US-290 Suite 350,
Austin,
TX 78735,
United States
Phone: 866 786 5700
5508 US-290 Suite 350,
Austin,
TX 78735,
United States
Phone: 866 786 5700
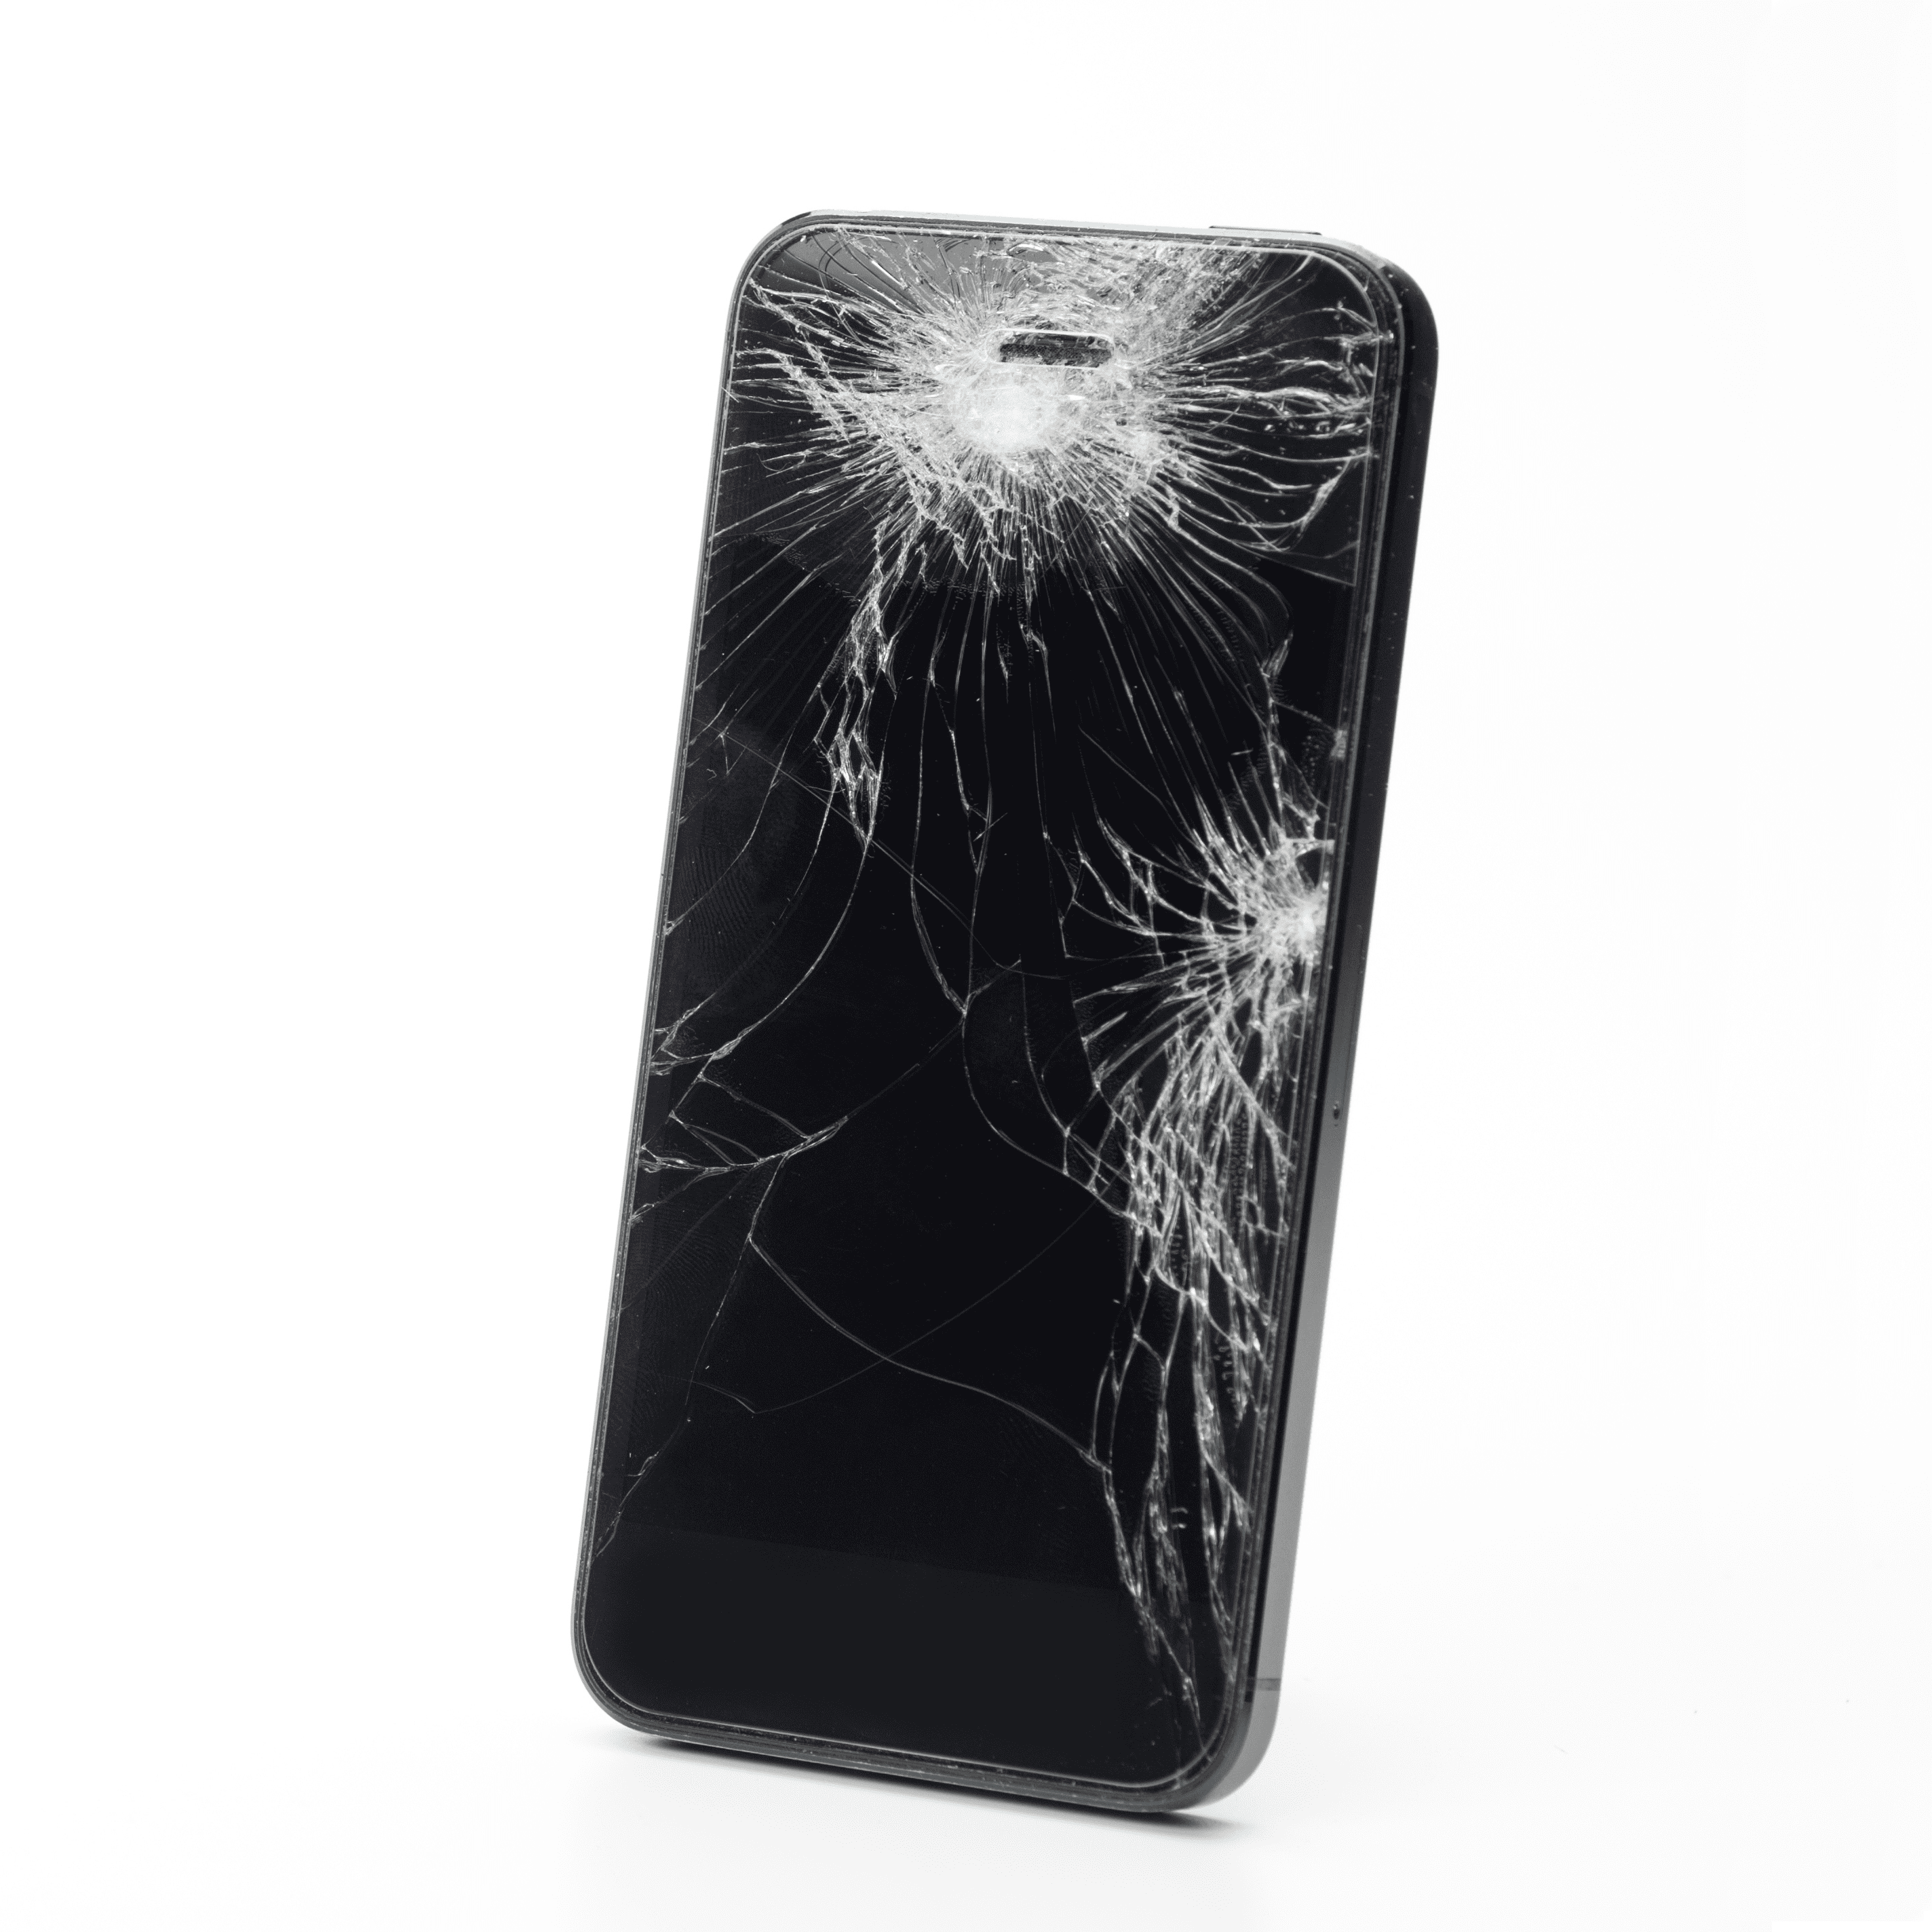 Flashback Data can support phone/mobile device data recovery for devices with extensive damage, including
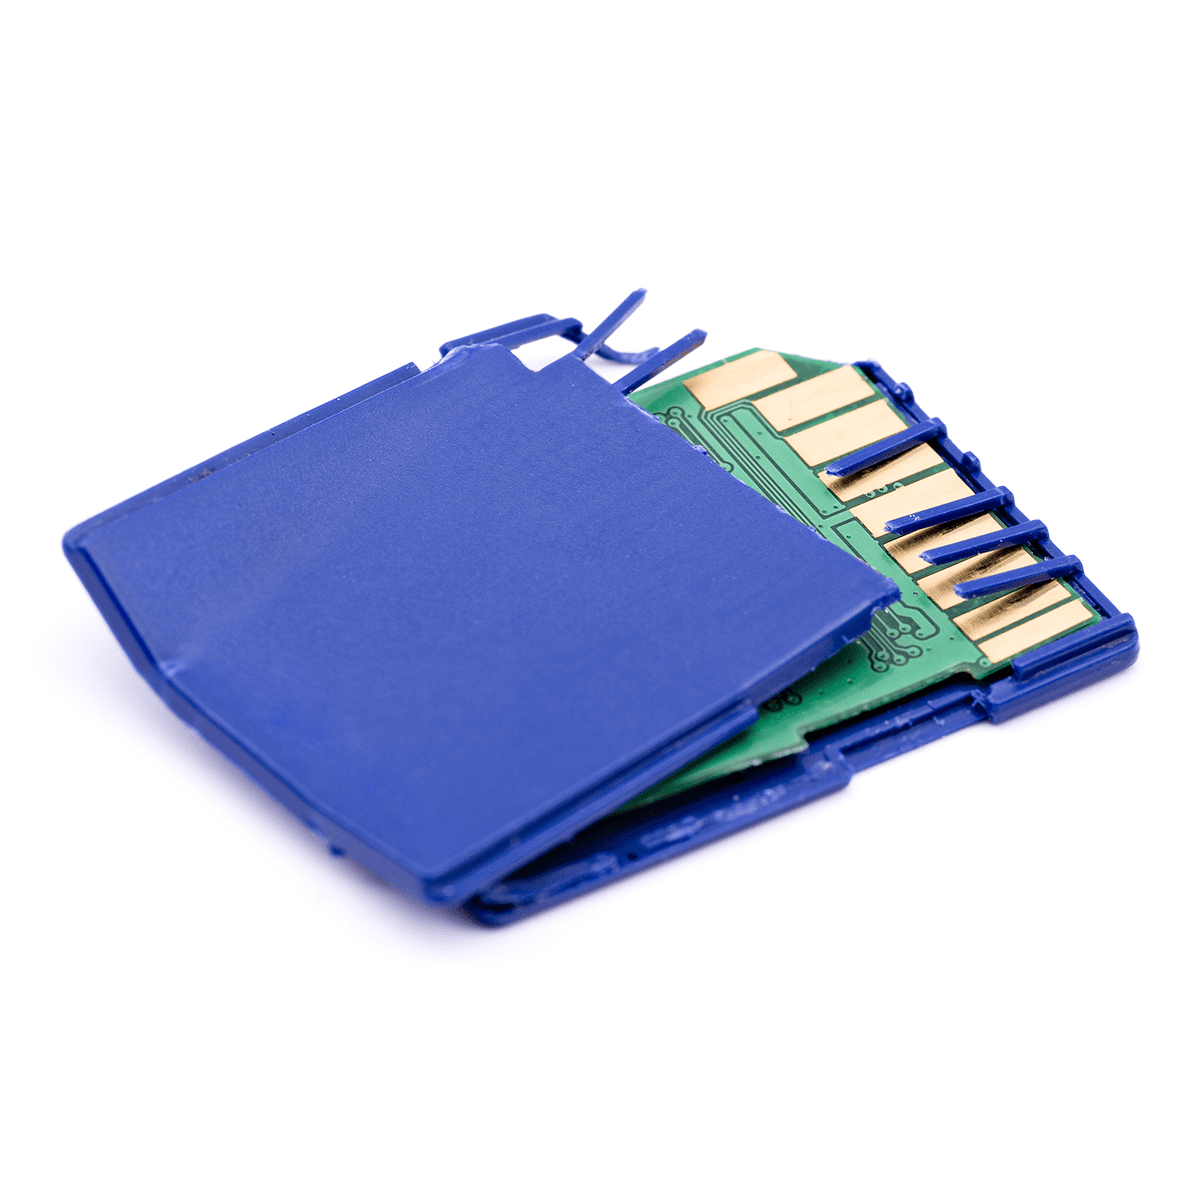 Properly formatting an SD card can be tricky! We can help if your data becomes inaccessible due to
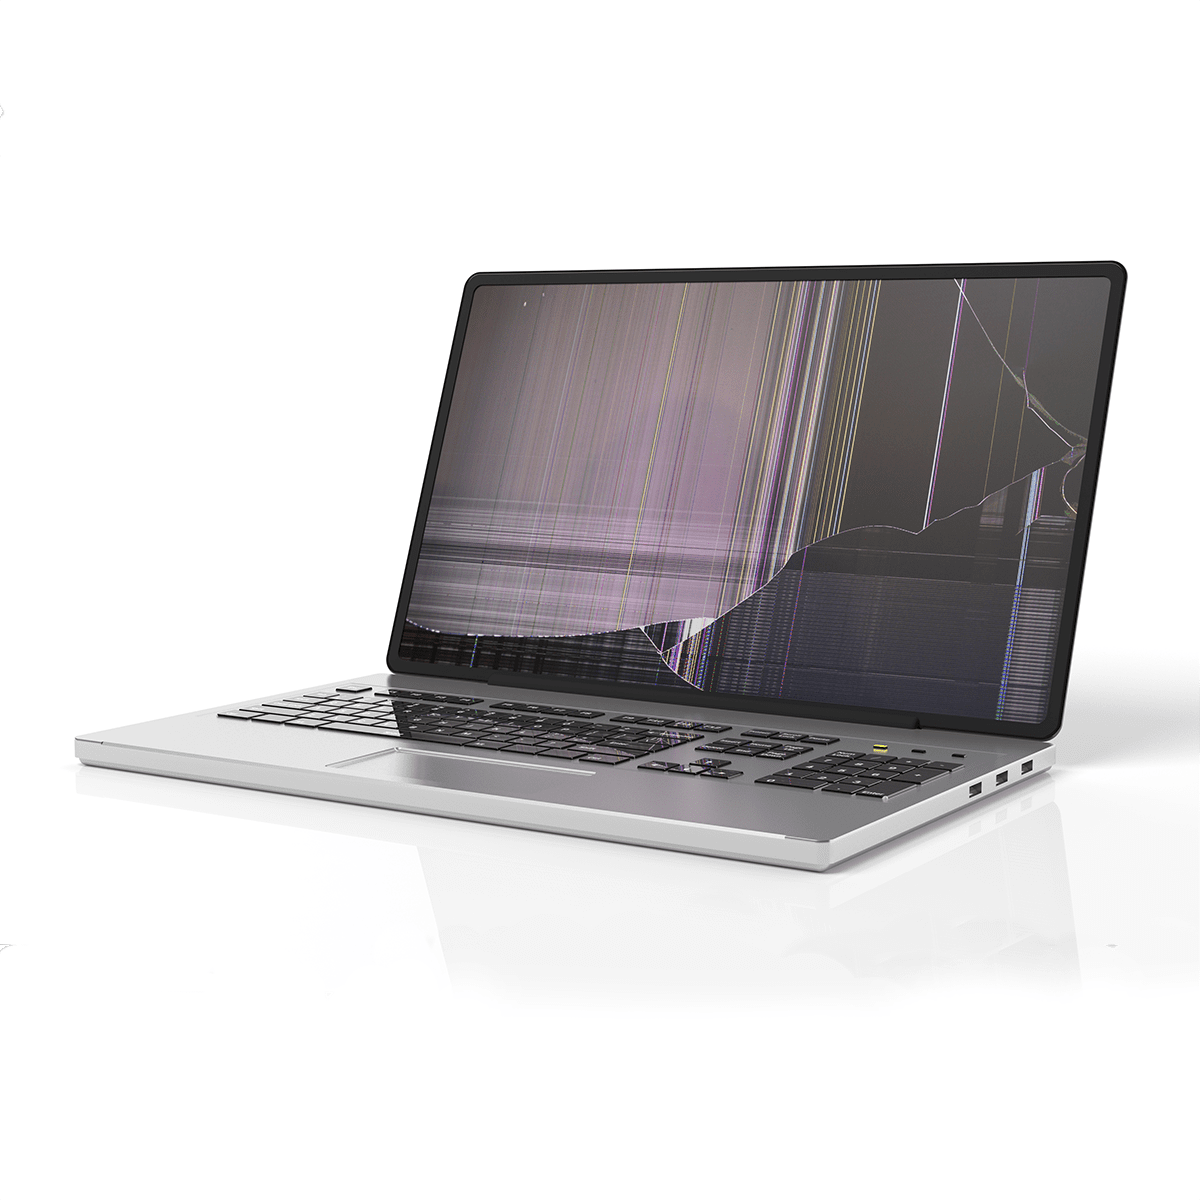 We have a successful track record of file recovery from computers experiencing
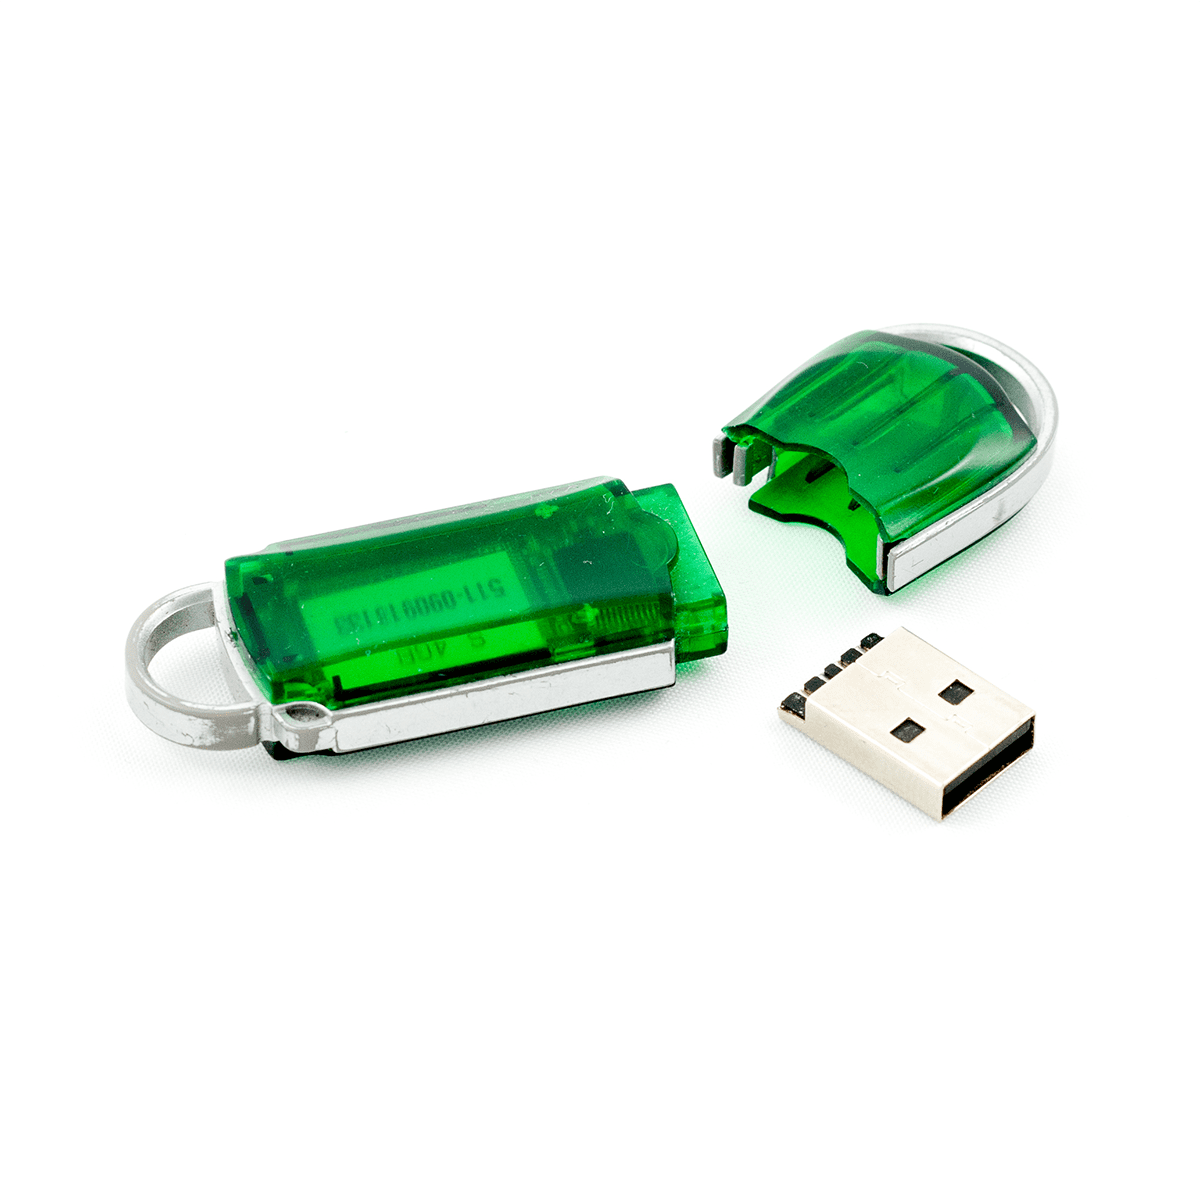 We have experience recovering USB flash drive data loss due to
Cyber Security Basics
/in Data Recovery /by Russell ChozickiOS exploits and their impact on digital forensics
/in Data Recovery, Digital Forensics /by Russell ChozickHard Drive Clicking? Common Causes and How to Recover Data
/in Data Recovery /by Russell ChozickThe “$199 Data Recovery”
/in Data Recovery /by Russell ChozickTop Forensics Posts for Attorneys
/in Digital Forensics /by Russell ChozickHow To Align Your Forensics Support to Your Case Timeline
/in Digital Forensics /by Russell ChozickSpoliation of Digital Evidence in Civil Cases
/in Digital Forensics /by Russell ChozickWhy You Need a 2nd Opinion on Digital Evidence in Criminal Cases
/in Digital Forensics /by Russell ChozickDigital Forensics Terms for Attorneys
/in Digital Forensics /by Russell ChozickCommon Mistakes In Selecting A Digital Forensics Partner
/in Digital Forensics /by Russell Chozick